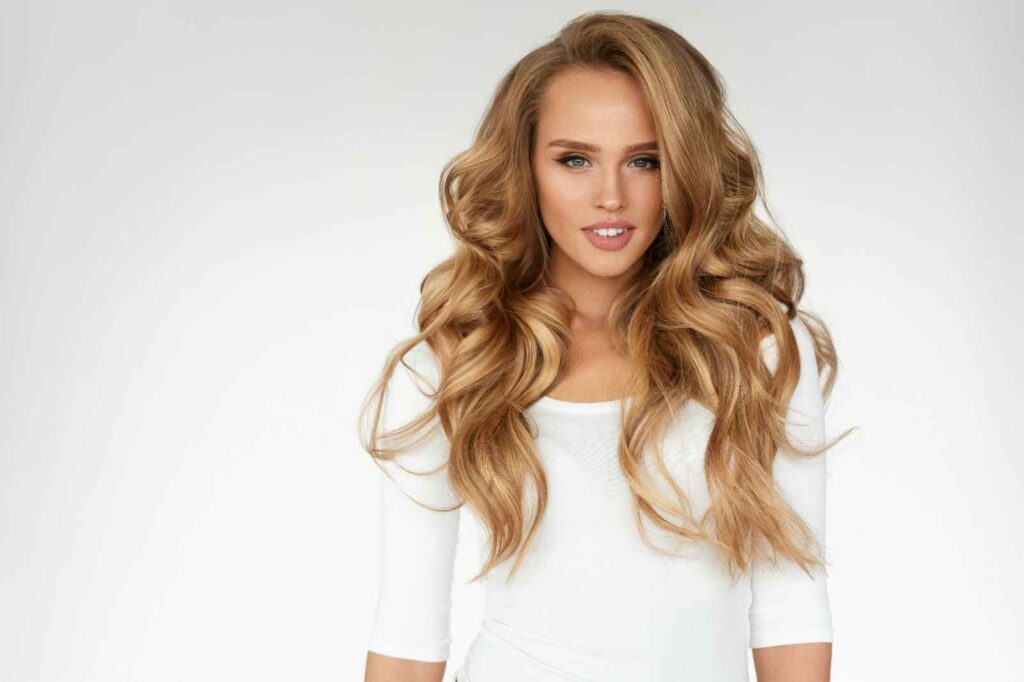
It’s no secret that millions of us yearn for the soft, colorful, sunkissed glow that highlights so perfectly provide. Especially at this time of year when the sun is shining and we wish for natural, beachy-looking tresses.
That said, the joy of having said highlights can often be short-lived. The dreaded re-growth starts before we know it and the line between our natural color and once lustrous additions begins to unceremoniously shine through without our permission. Rude!
The answer? Teasy lights. And if you’re wondering what on earth they are, you’re in the right place! We’re here to talk you through exactly what they look like, how they’re achieved, how to maintain them. And most especially how you can expect a barely noticeable grow out.
What Are Teasy Lights?
When traditional foil highlights and the somewhat more modern technique of balayage met, they formed a beautiful union. The result, as you’ve probably guessed, was teasy lights!
To explain a little further, and to understand where the name comes from, let us explain a little more about the specific technique involved in this revolutionary highlighting style…
Whereas classic highlights are achieved by separating the hair, applying a lightener, and then securing each piece to develop inside foils, this technique adds in an extra step.
After the hair is separated, but before the lightener is swept on (much like it is for balayage), a fine-tooth comb is used to tease the hair at the root. This subtle yet all-important action is what makes teasy lights stand out from the crowd. By teasing the hair first, your stylist is creating a more natural (uneven if you will) line near the root. So, once the lightener is applied, it will have a much more organic look as it develops. And as we know, no harsh lines means the grow-out period will be substantially less noticeable. That’s something we will always be on board with!
And that’s not all…
The Endless Benefits Of Teasy Lights Hair
Now that we know what they are and how to get them, let’s look at their huge list of pros.
- They’ll work for pretty much any hair color (your stylist will talk you through the right shades. Depending on your hair’s natural shade)
- Those with straight, wavy, and even curly hair can get teasy lights
- The grow-out is barely noticeable
- Leave a longer gap between salon visits
- Get a natural-looking, sun-kissed glow without having to step foot outside or damage your hair under UV rays
- You get a perfect color blend from your natural roots to your highlights so your hair never looks overly ‘done’
- The use of foils means your color will be more vibrant than it would be with balayage
- It adds heaps of dimension to your overall hair color
- They look gorgeous with the addition of a money piece. Which will further emphasize your color and draw attention to your facial features.
We could go on, but we wouldn’t want to hold you up from booking your salon appointment for too much longer!
Teasy Lights Vs Baby Lights: What’s The Difference?
Looking over those benefits and the technique used. You might be wondering if teasy lights are really all that different from baby lights. After all, both treat super fine sections of hair at a time, using foils are achievable. And also both provide a natural-looking finish with a summery glow.
Whilst both blend seamlessly with your base color and are suitable for the majority of all hair types and colors. Baby lights tend to start much higher on the head. Teasy lights are generally from the mid-lengths to the ends of your hair. This is to provide a more subtle grow-out phase. Therefore, if it’s low maintenance you’re looking for, we’d recommend opting for the teasy lights every time!
Maintaining Your Low Maintenance Highlights With A Soft Grow Out
Whether you’ve already gotten your teasy lights (congrats) or you’re eagerly awaiting your appointment and wondering how to best care for them once they’re done, we have you covered.
Any time you have your hair colored whether it’s one solid new shade, baby lights, highlights, teasy lights, balayage, curlyage, or any of the above, it’s so important to make sure you take care of it. Even more so than when you’re just rocking your natural uncolored hair.
To make sure this happens, and your color remains vibrant and intact for as long as it possibly can, follow our simple steps below!
Use a specialty shampoo and conditioner set
- To give your color any chance of staying beautifully bright and brass-tone free, make sure you’re always using Oribe’s Bright Blonde
- When washing your hair, a color shampoo will wash away excess dirt, grime, and oil like a normal shampoo, however, it will also work to minimize the amount of color lost within each wash
- Meanwhile, color conditioners are packed with extra moisturizing ingredients that keep lightened hair from becoming brittle or broken. So, always make sure you’re using one at least every other wash to keep your hair soft and nourished from the inside out.
Try Not to blow dry/heat style your hair
- Though we know for some this will seem totally unavoidable, heat styling your hair constantly is a recipe for disaster when it comes to colored hair
- Instead, we recommend softly patting your hair with a soft, clean, dry towel and allowing the summer warmth to do the rest
- With a few drops of serum or oil, your hair will feel incredibly soft and frizz-free, not to mention you can say goodbye to damaged ends caused by repeatedly heating up the lightened pieces within your locks.
Indulge with a weekly hair mask
- Though this isn’t exactly a necessity, we highly recommend treating your tresses to a weekly hair mask
- Your conditioner will work wonders for upkeep in between masks, but nothing will make your hair feel softer or healthier or care for your color more than a moisture-rich mask made especially for colored locks.
So there you have it, the perfect teasy lights, and the perfect recipe for maintaining them whilst they subtle grow out until your next salon visit. Will you be booking your appointment with us for the sun-kissed summer locks of your dreams? We hope to see you very soon.

